
Christmas is upon us! Lets soar into the bustling holiday season with an open mind, a creative spirit and a well drafted plan. Nothing can stop us now.
I made the decision to completely overhaul my tree decor this year and wanted to share my approach. I’ve been an interior designer and general contractor for 15 years. This industry involves a lot of organization and moving parts that all need to be perfectly timed and coordinated to meet tight deadlines. Naturally, I geared my tree overhaul with the same tenacity. After 10 years of recycling the same old wrinkled bows and mismatched ornaments I had a plan and a list and was ready to set out to the stores. Here’s a step by step task list that yielded the most epic tree in all my years of Christmas decorating. While, also making it easy and enjoyable. Queue that Christmas playlist
- Music. This is the most magical time of year and why not celebrate your tree overhaul planning with those “belt your heart out” holiday jams!?! Nothing gets me more in the spirit of Christmas quite like the classics at full blast, and my crazy kids rockin’ around the Christmas tree.
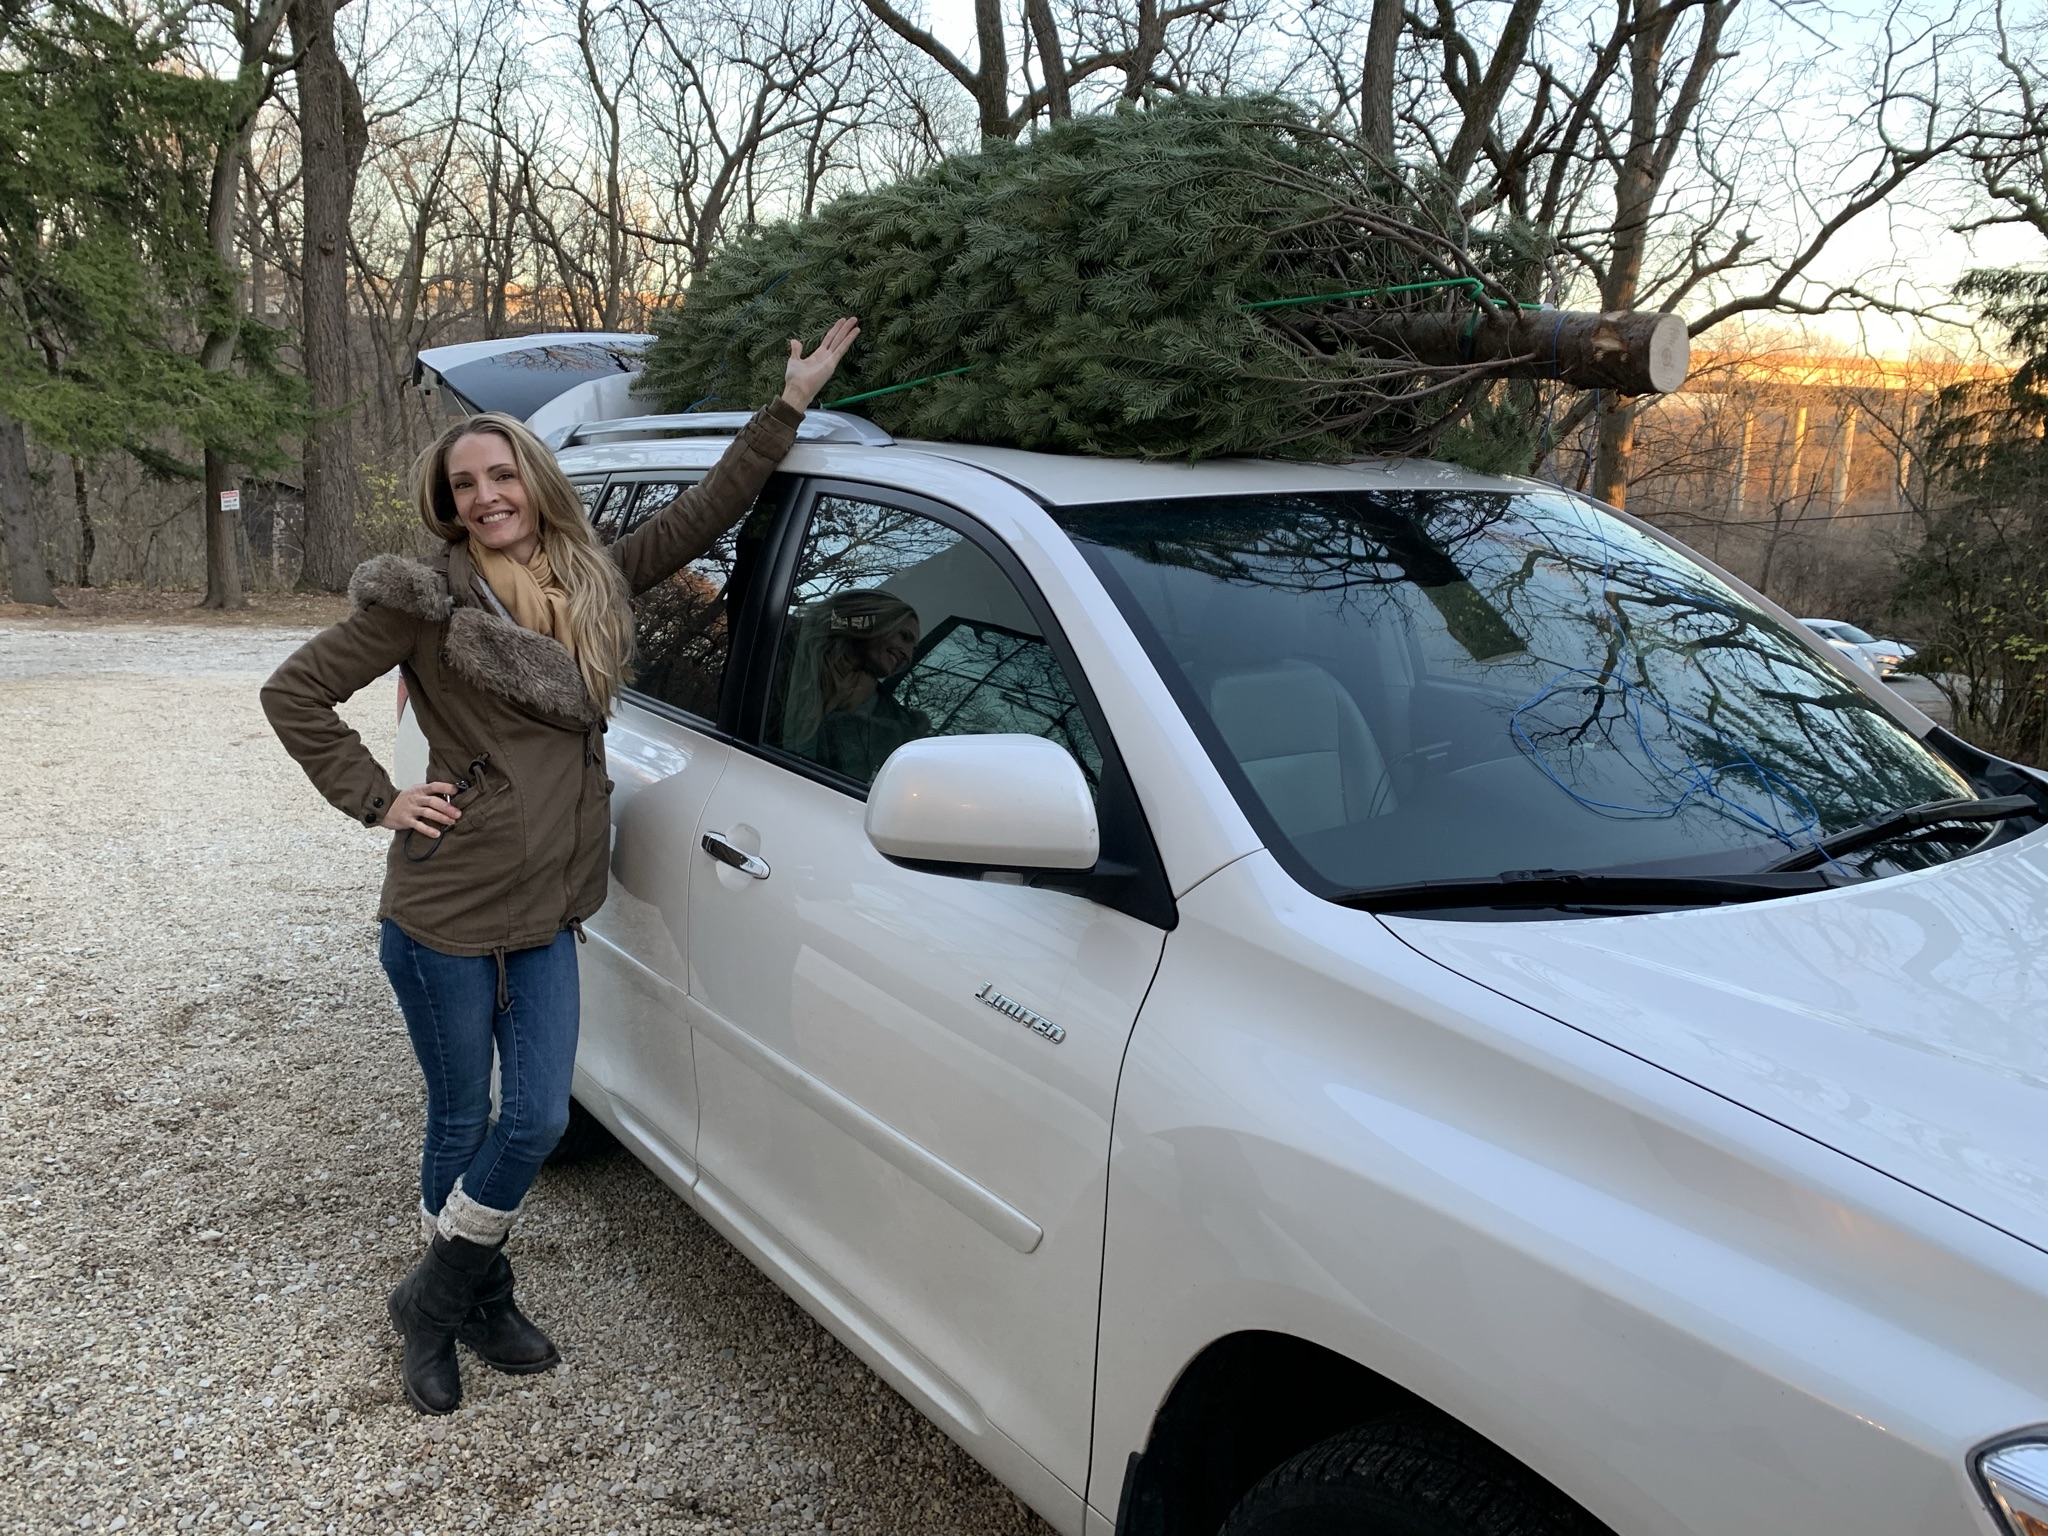
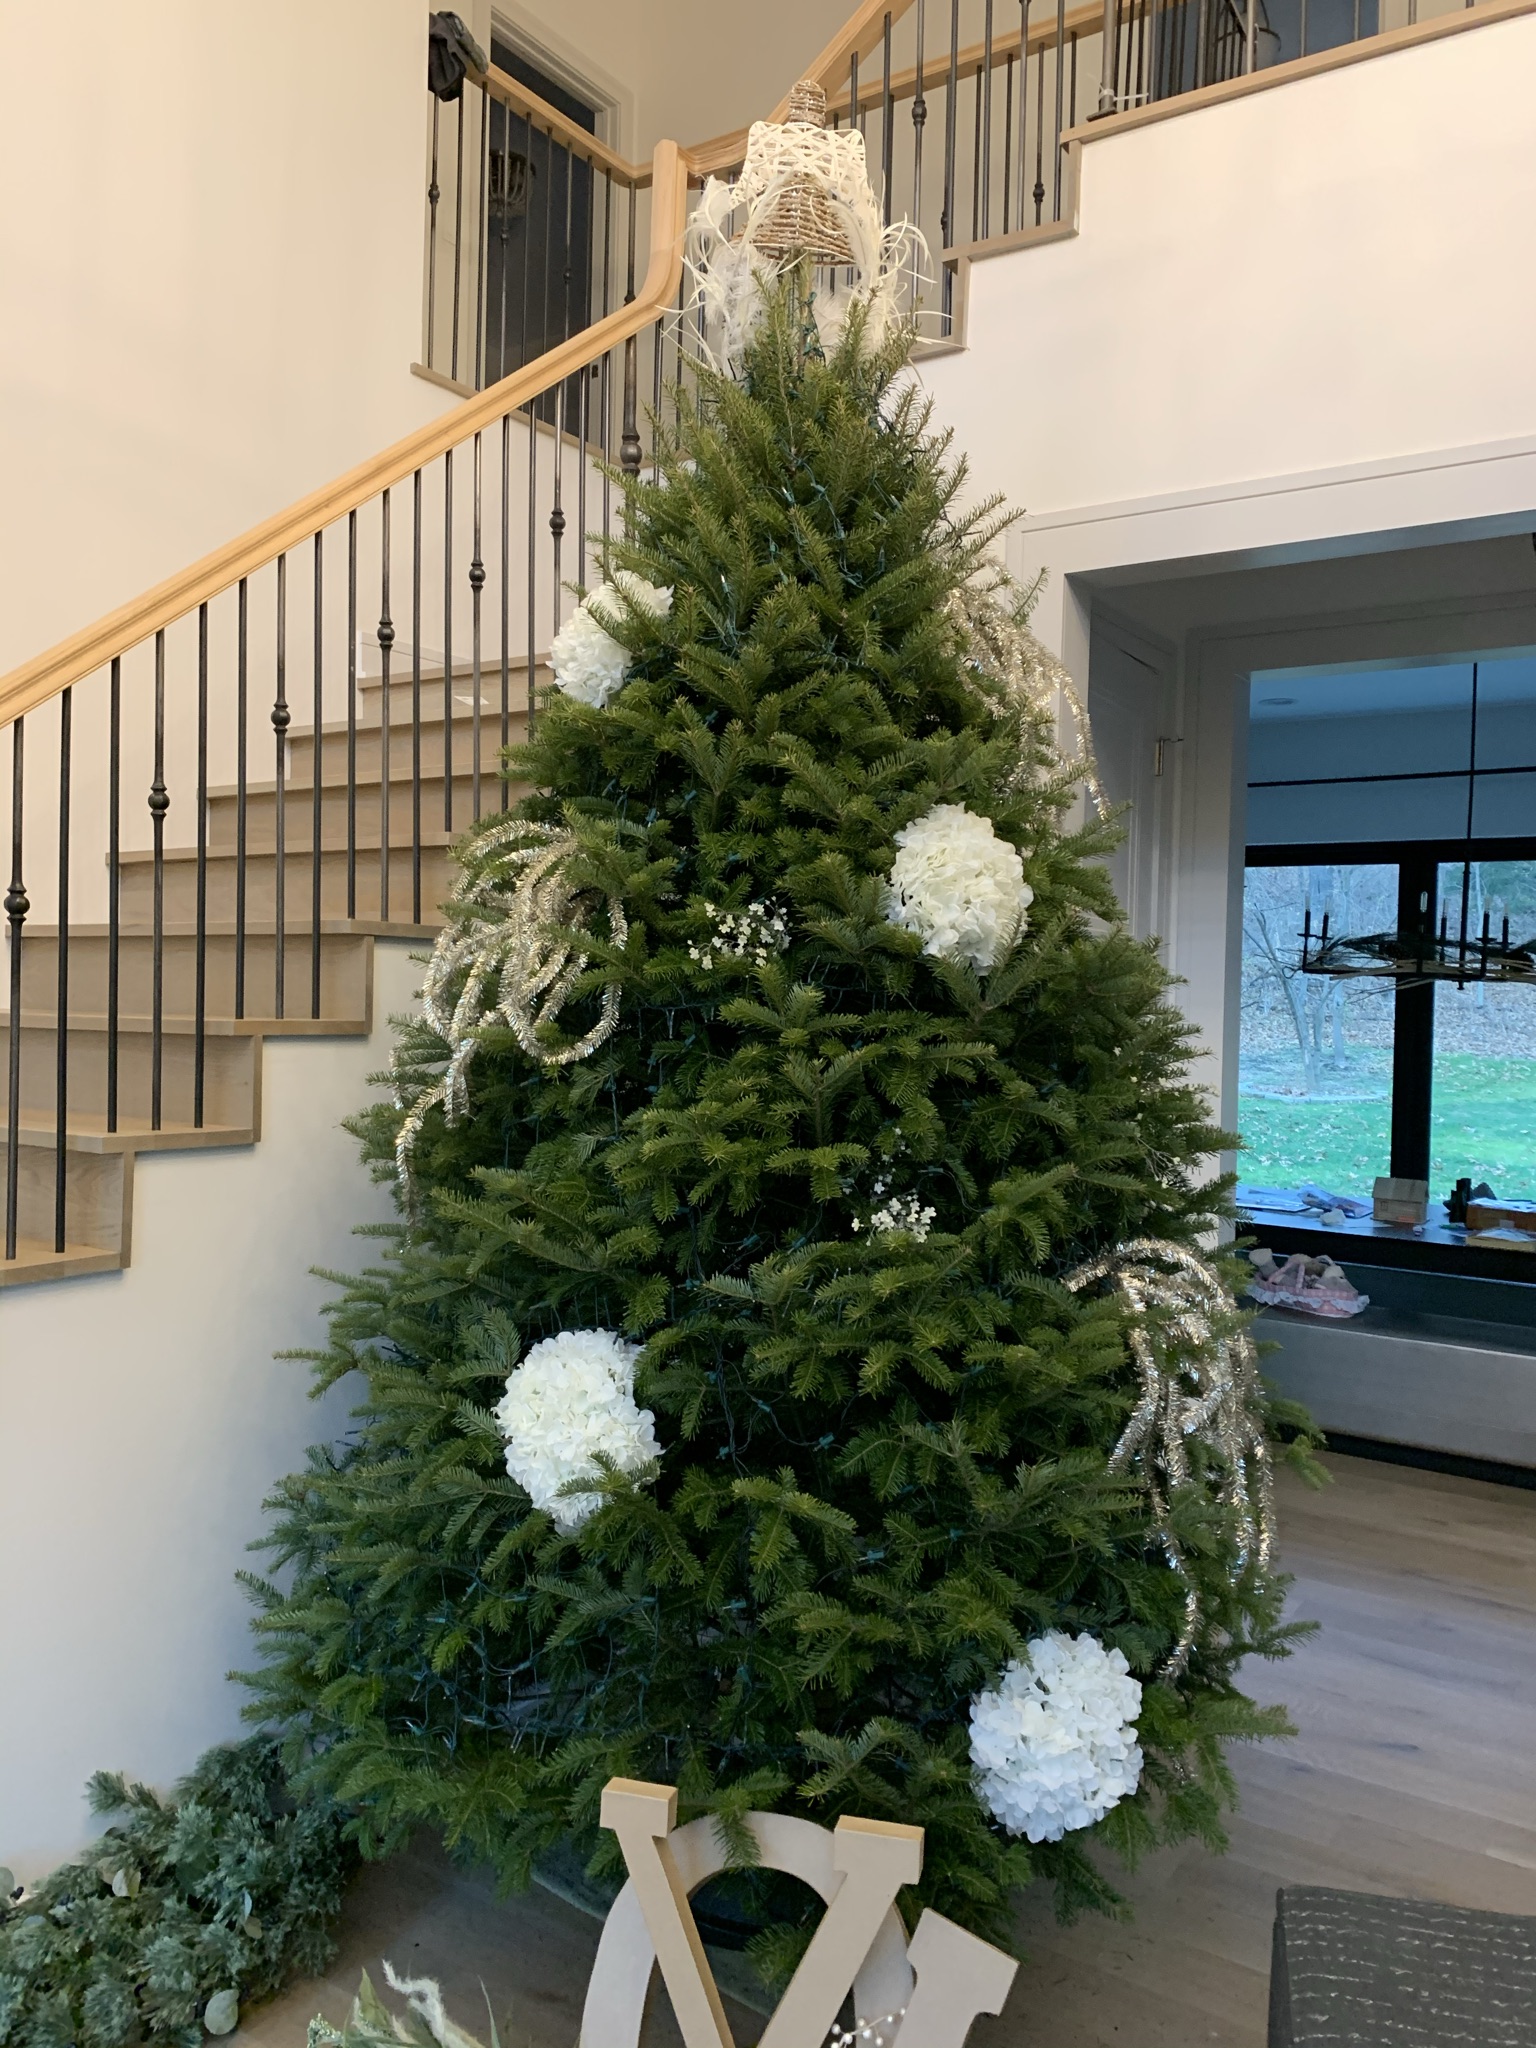
- Measure your tree, W x H. Why? Coverage is key. When you begin roaming the store you’ll need to choose your decorations to correctly match the scale of your tree. For instance, I purchased a real tree (first time ever) so I went BIG… 6ft W at the base x 10ft H overall. Small ornaments and thin ribbon would have disappeared in the branches so scaling up the size of the decor in this instance helped with coverage and maximize “WOW!” factor.

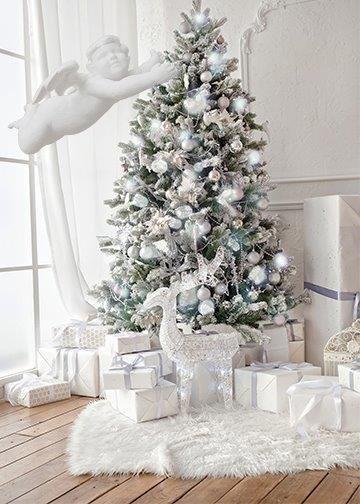
- Choose a color scheme. We all know there are a million ideas on pinterest, google images or good ole’ magazines. Pick a color and design scheme that you love now and for many years to come. I decided on a modern farmhouse theme in neutral tones.
- Perfect those branches. Real trees sometimes need a trim for those unruly long branches. Faux trees need to have the branches reopened by hand. Its the least fun of this process but will give your tree a fuller look and will offer more options for positioning your decorations
- Buy extra lights – Remember the goal from step 1 was coverage. Since we will be stuffing our trees with an array of curiosities, we must consider that those items will block a lot of the bulbs and hinder the glow. Stock up on LED net lights for evenly spaced lights and then just a few boxes of lights with special effects to layer in. Most of these LED strand lights or “fairy lights” have 8 special effects (twinkling, slow fade, pulse, etc). They now sell lights with cool bulbs shapes too; tear drop, raspberry, mini, globe, etc. Regardless of shape or color, it is lovely to see an evenly lit, bright tree with some bonus twinkle effects.
- Hide the wires. When placing the net and/or strand lights, set them 4 – 6 inches in from the branch edge. Pull branches through the net lights and fluff as needed. Left photo has hidden lights, right photo does not.
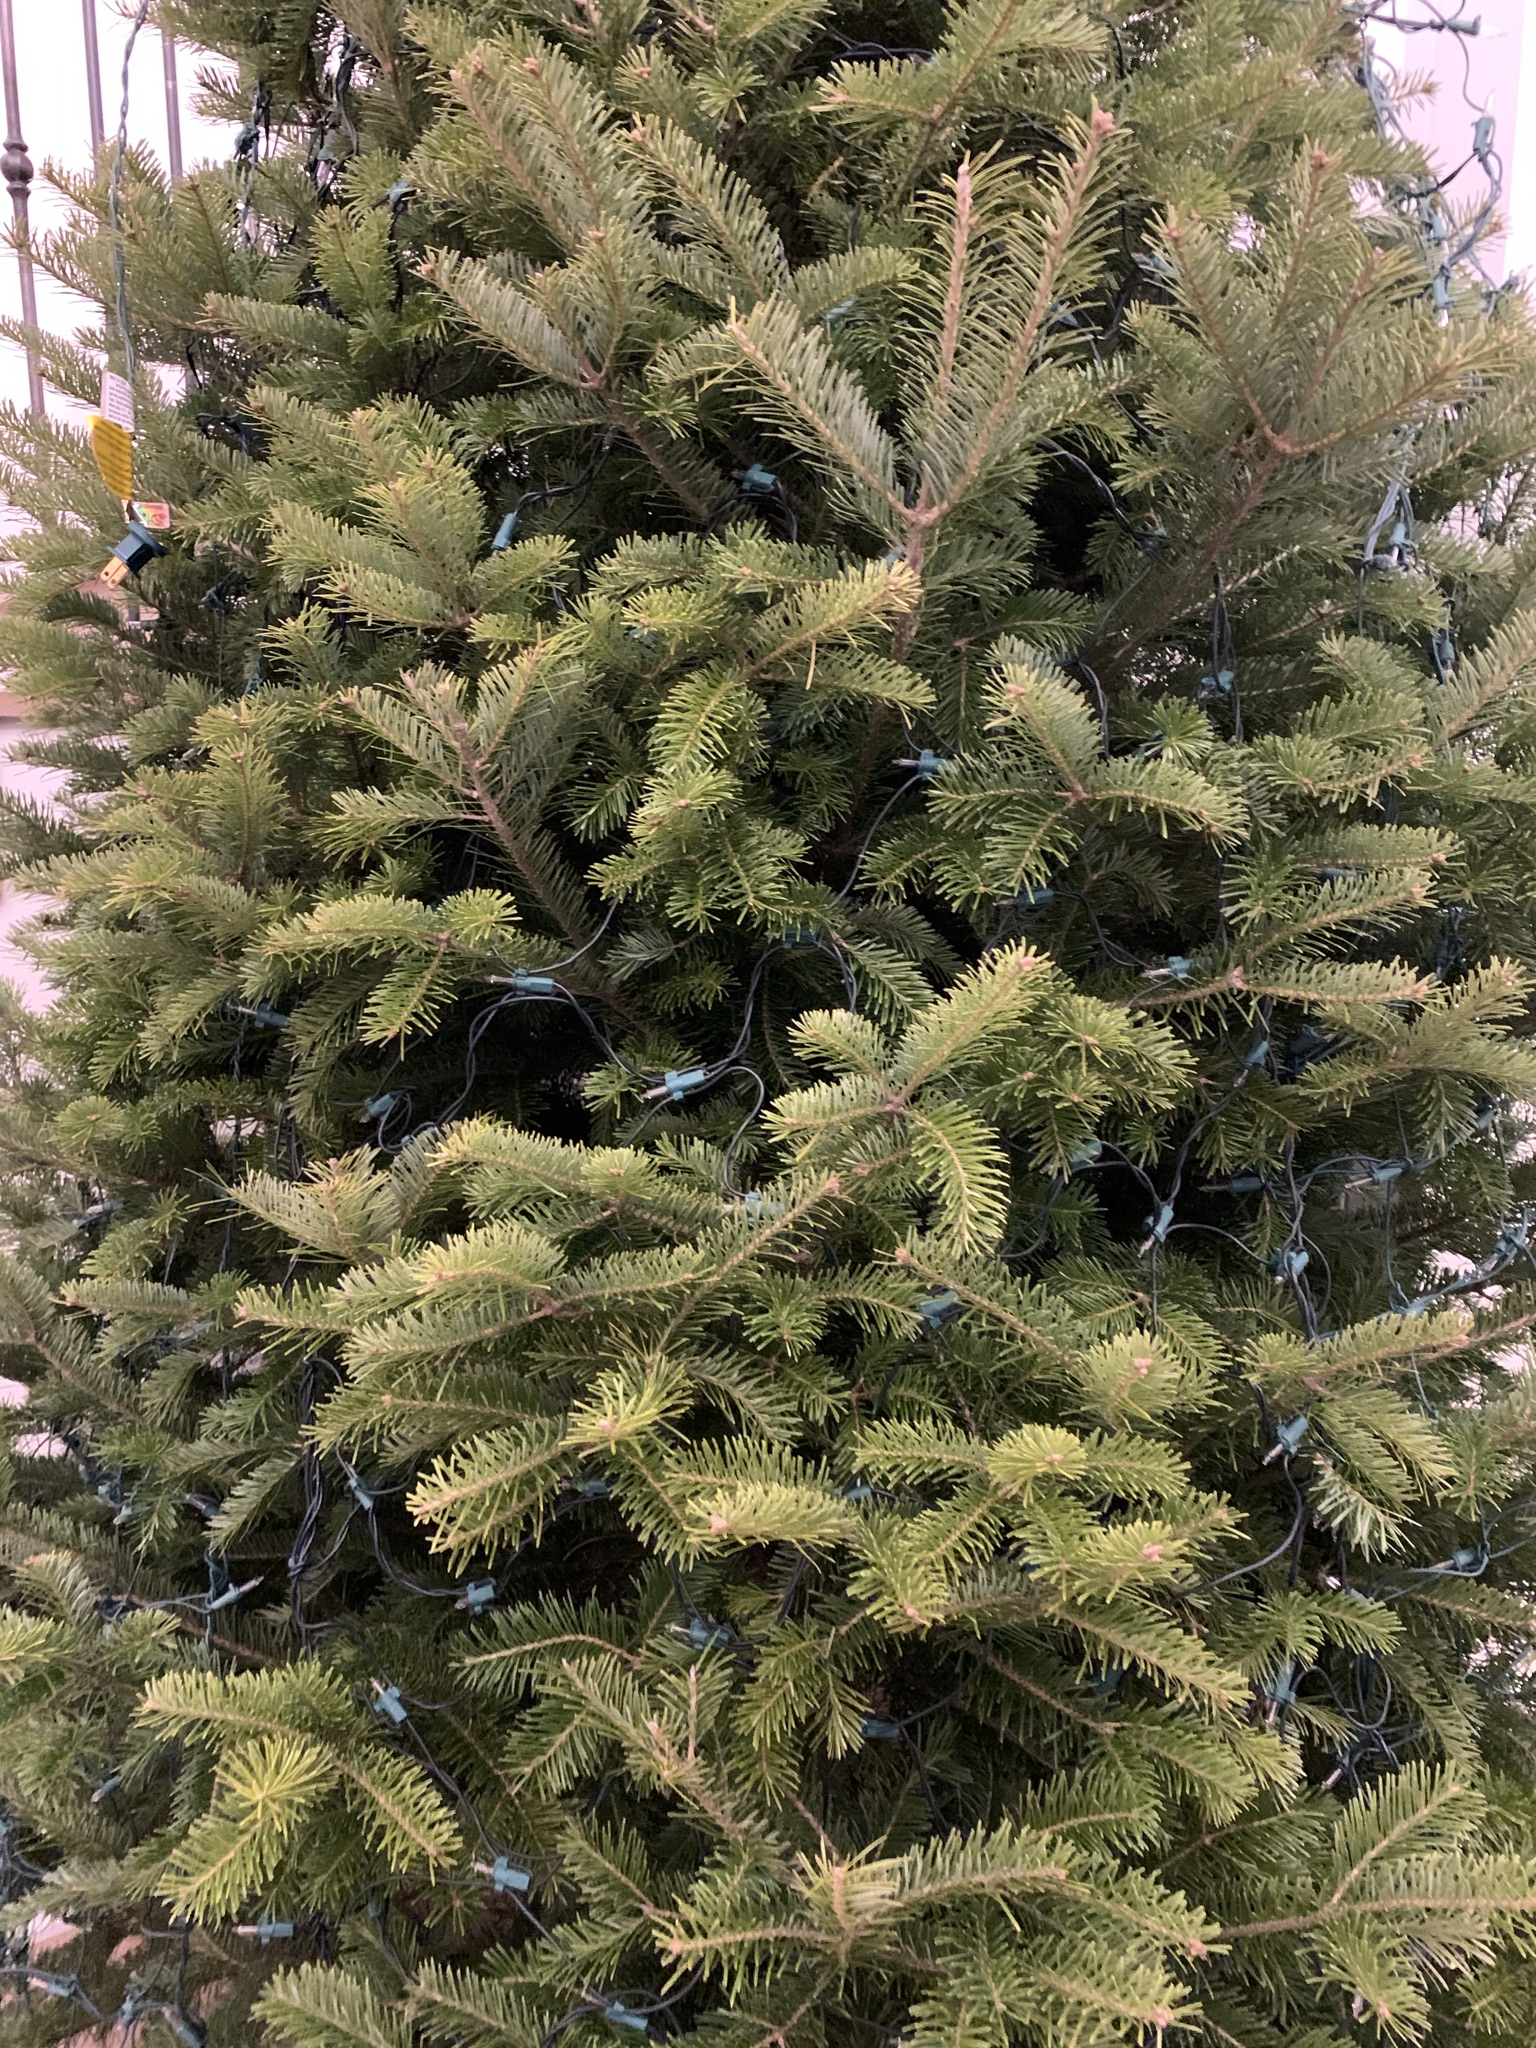 inVS out
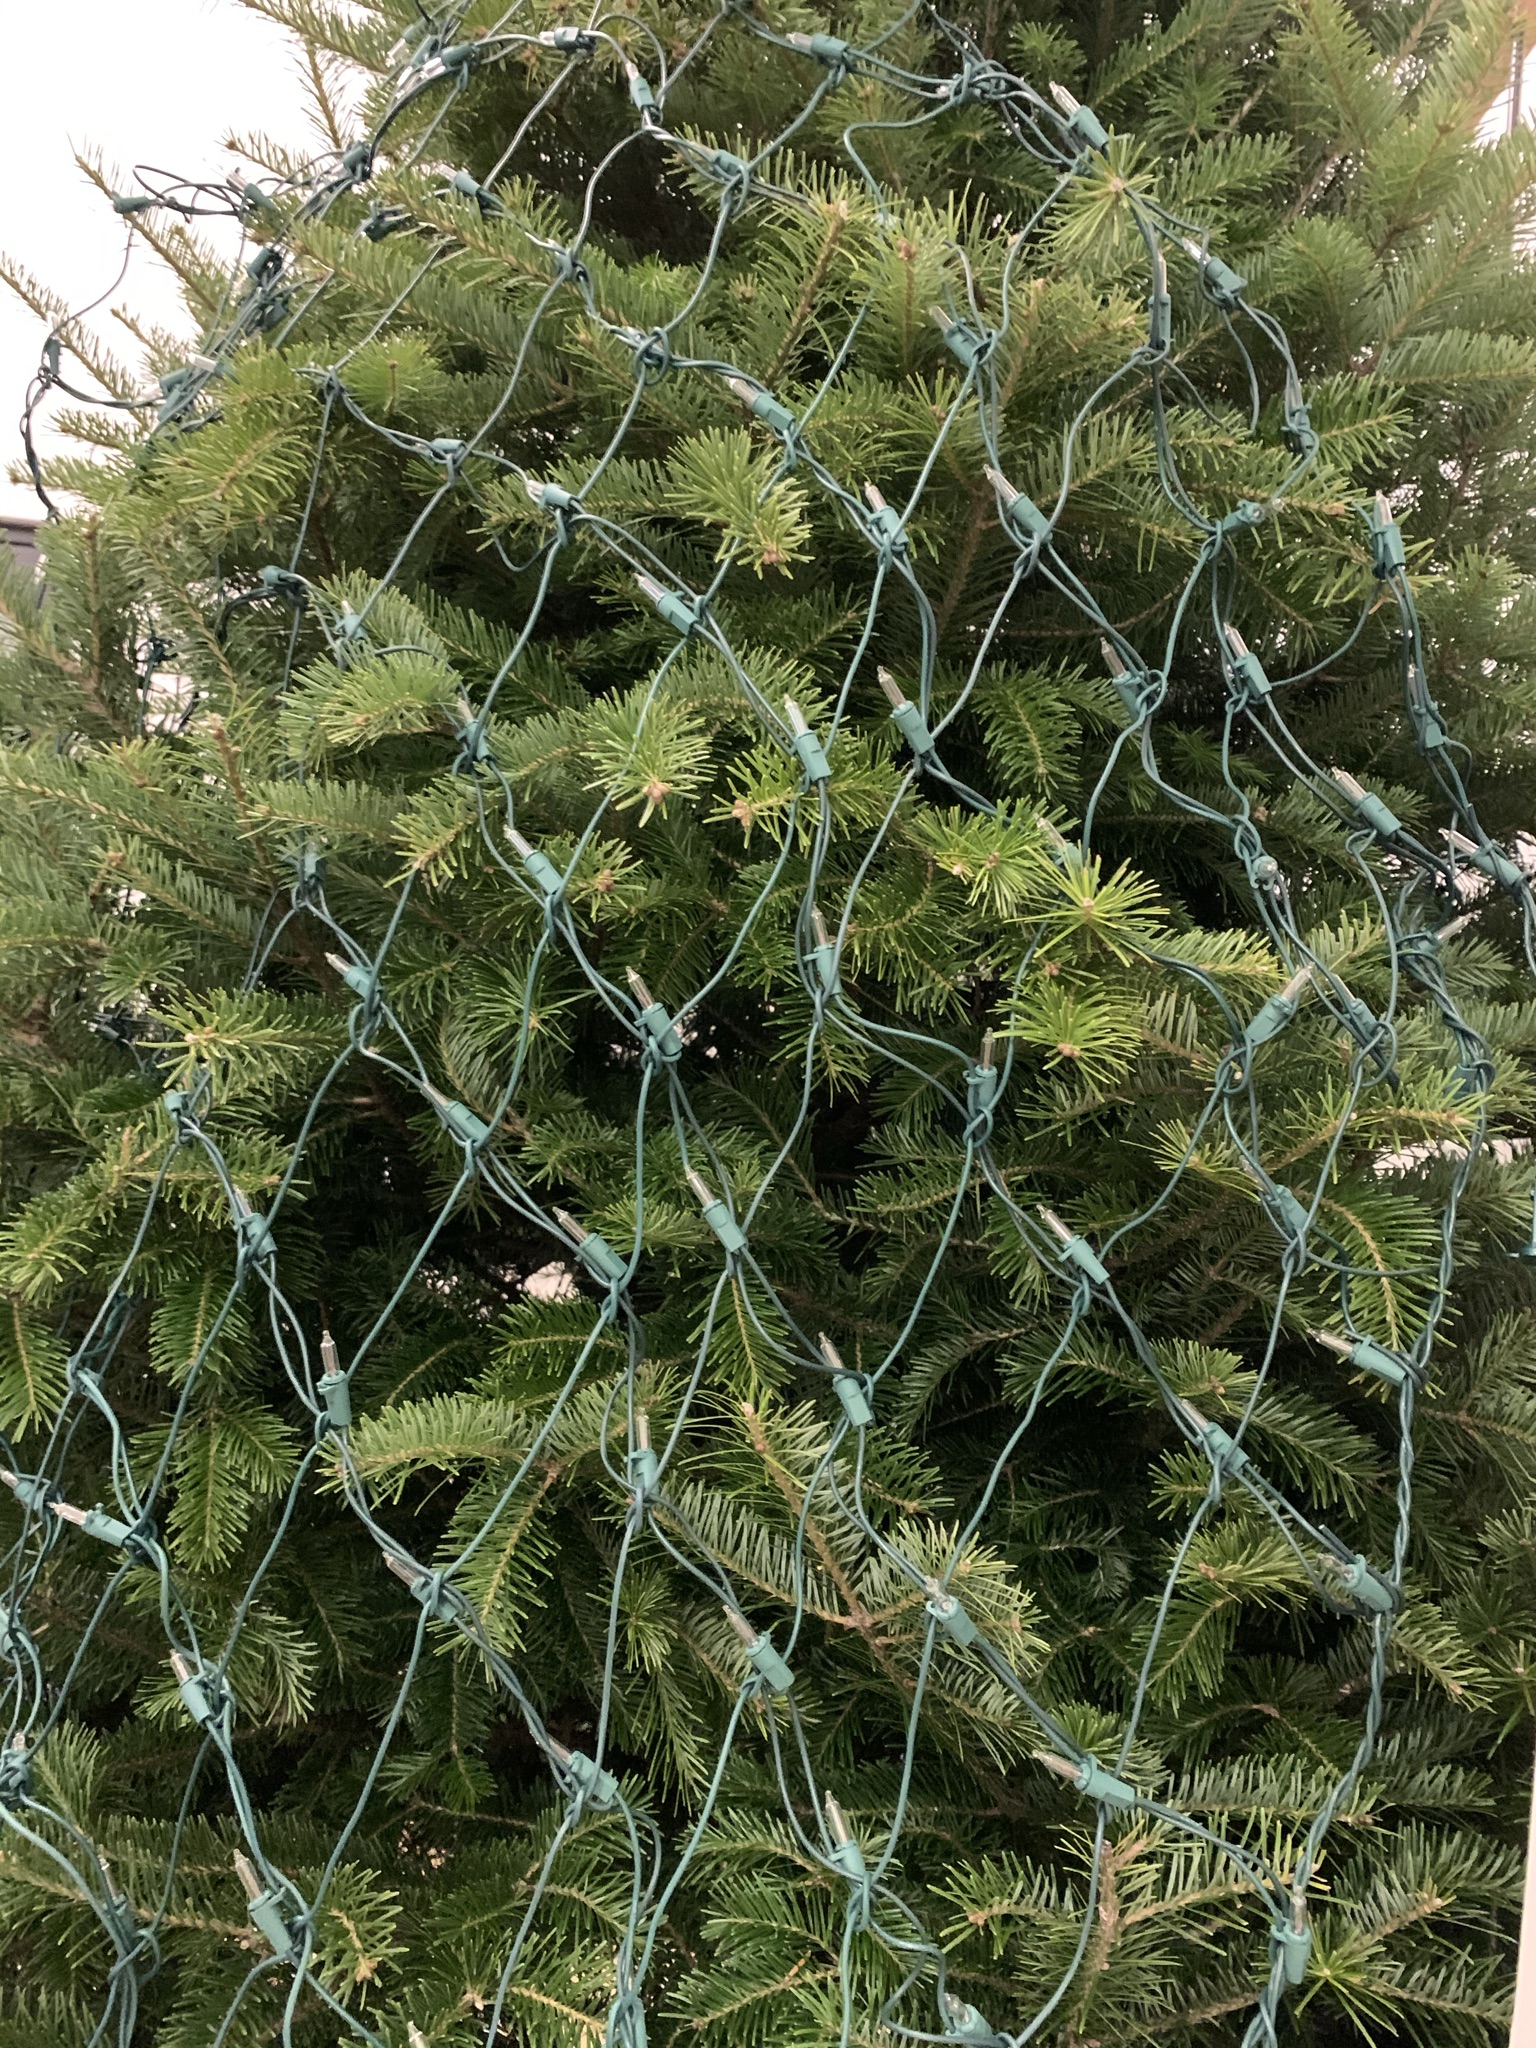
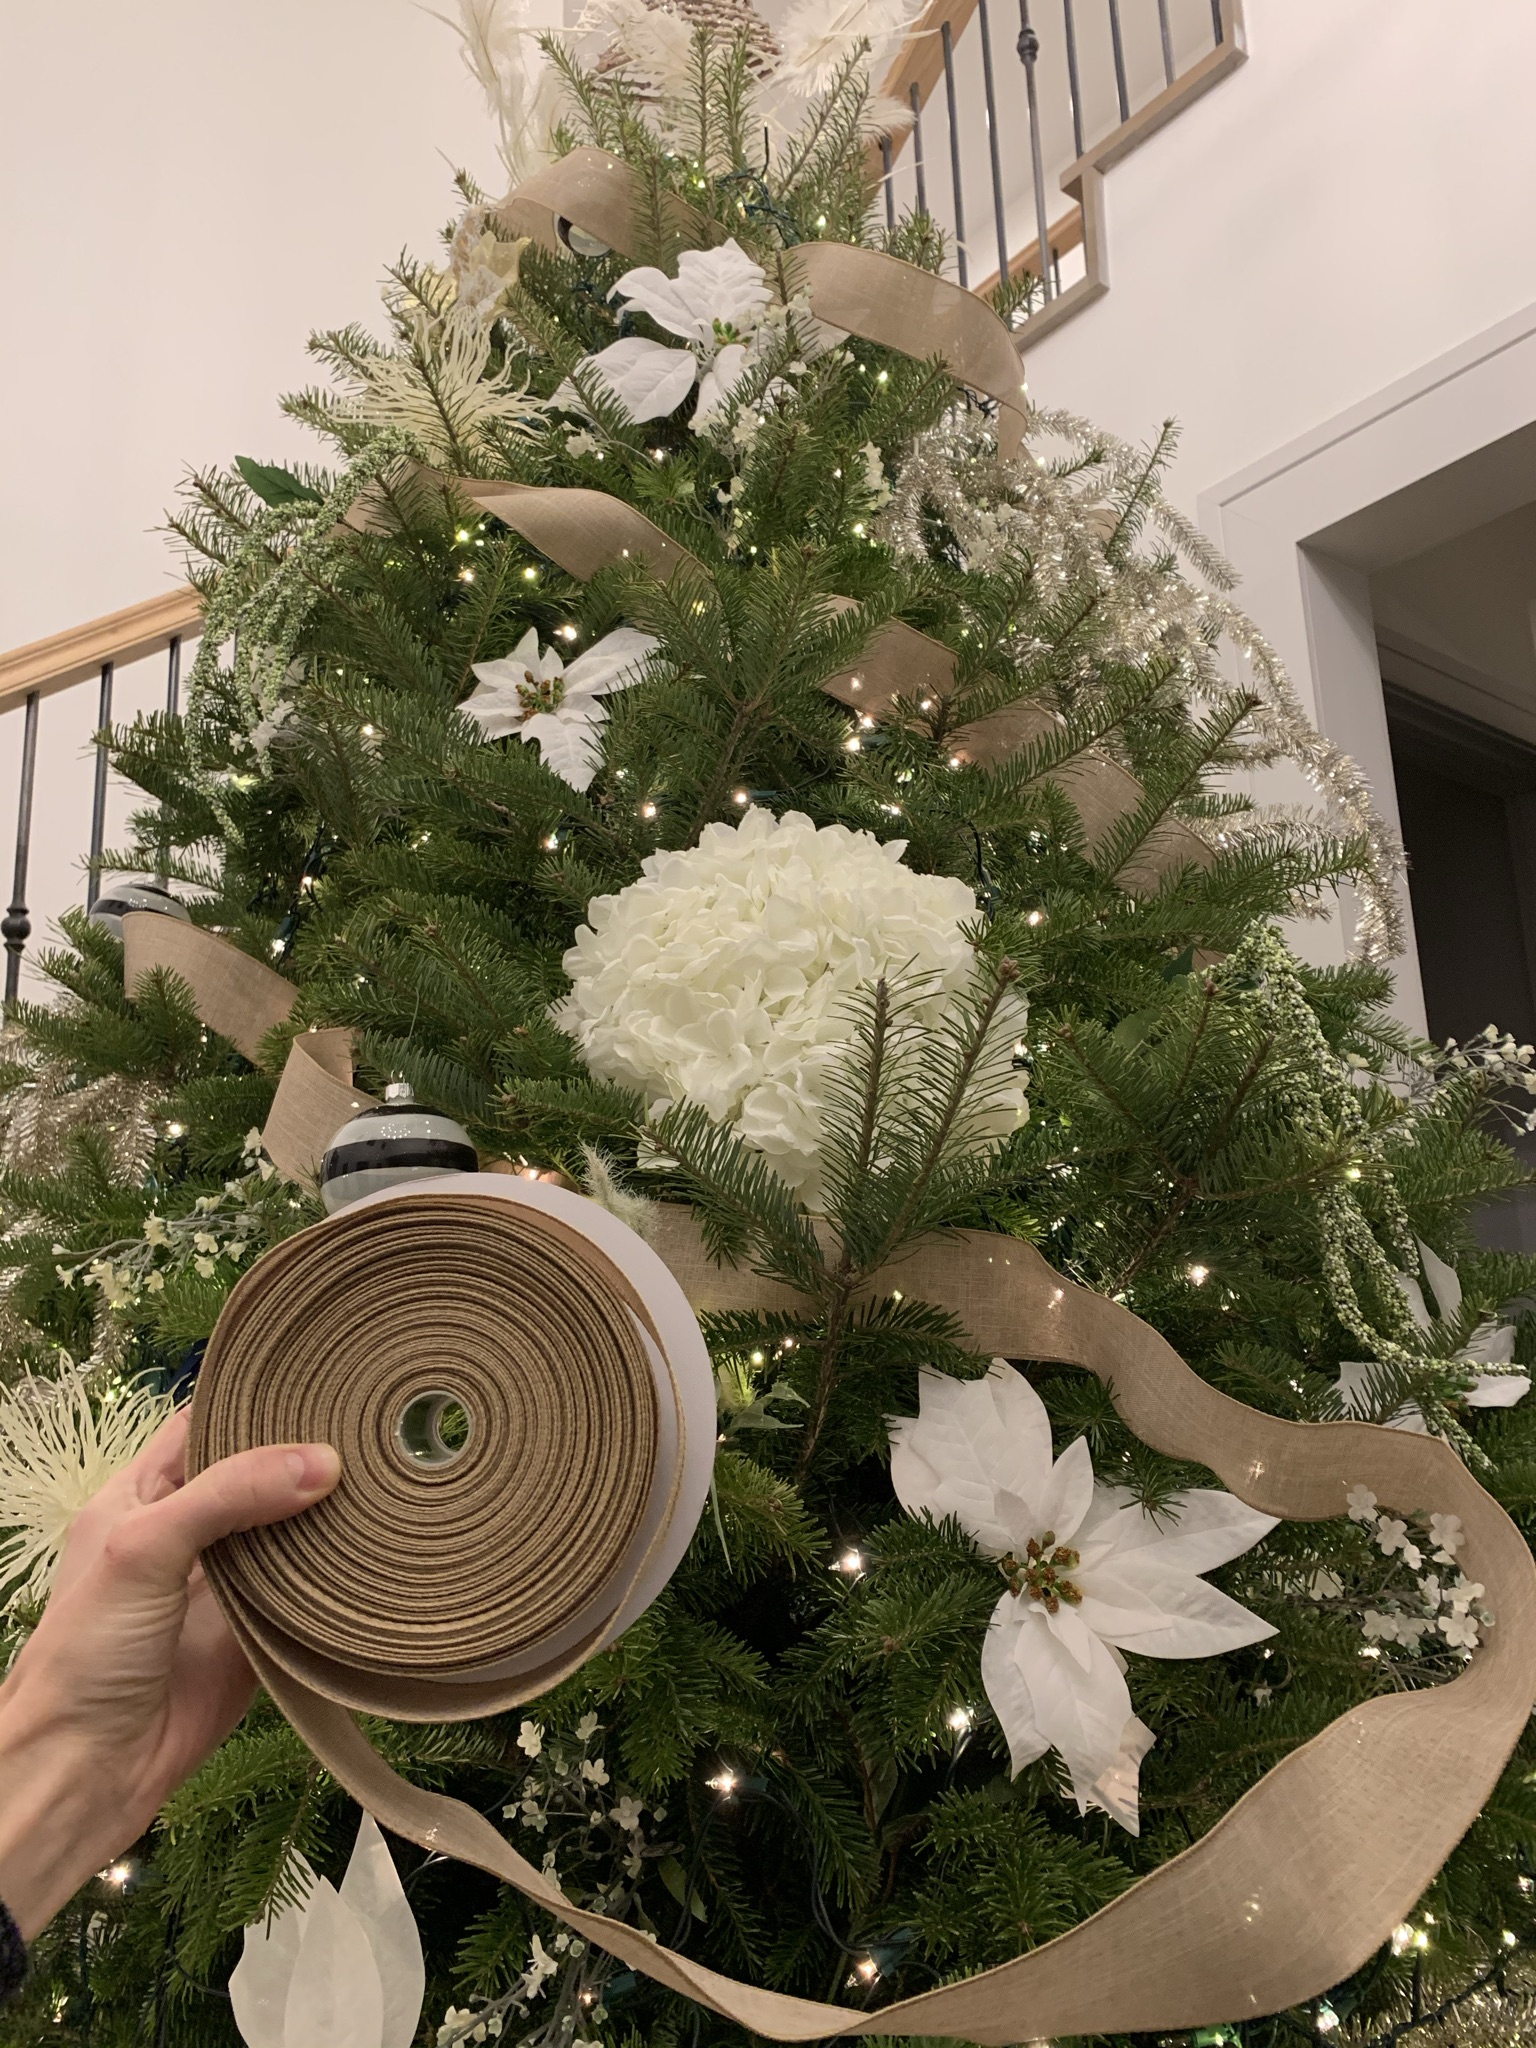
- Save the ornaments for last. First, visit the craft area where they have wooden letters, gift wrapping ribbons of every color, pattern and width. The fabric stores also have material with amazing textures and patterns that you can buy by the yard and cut into long strips to weave into the branches or tie big bows. Depending on your color scheme, consider animal embossed vinyl, lace, taffeta, leopard shag. Fabric is inexpensive so have fun experimenting. The faux flower aisles have really amazing variety of size and colors. I went with 10 inch diameter hydrangea, white feathers, sparkly weeping tinsel, cream amaranthus spray and bouquets of white meadow flowers. The craft aisles have burlap cords, wooden letters and charming unpainted wooden houses and chests that are definite conversation starters. Fill that tree up with everything that speaks to you… as long as it follows your scheme and most importantly, fills you with Christmas spirit!
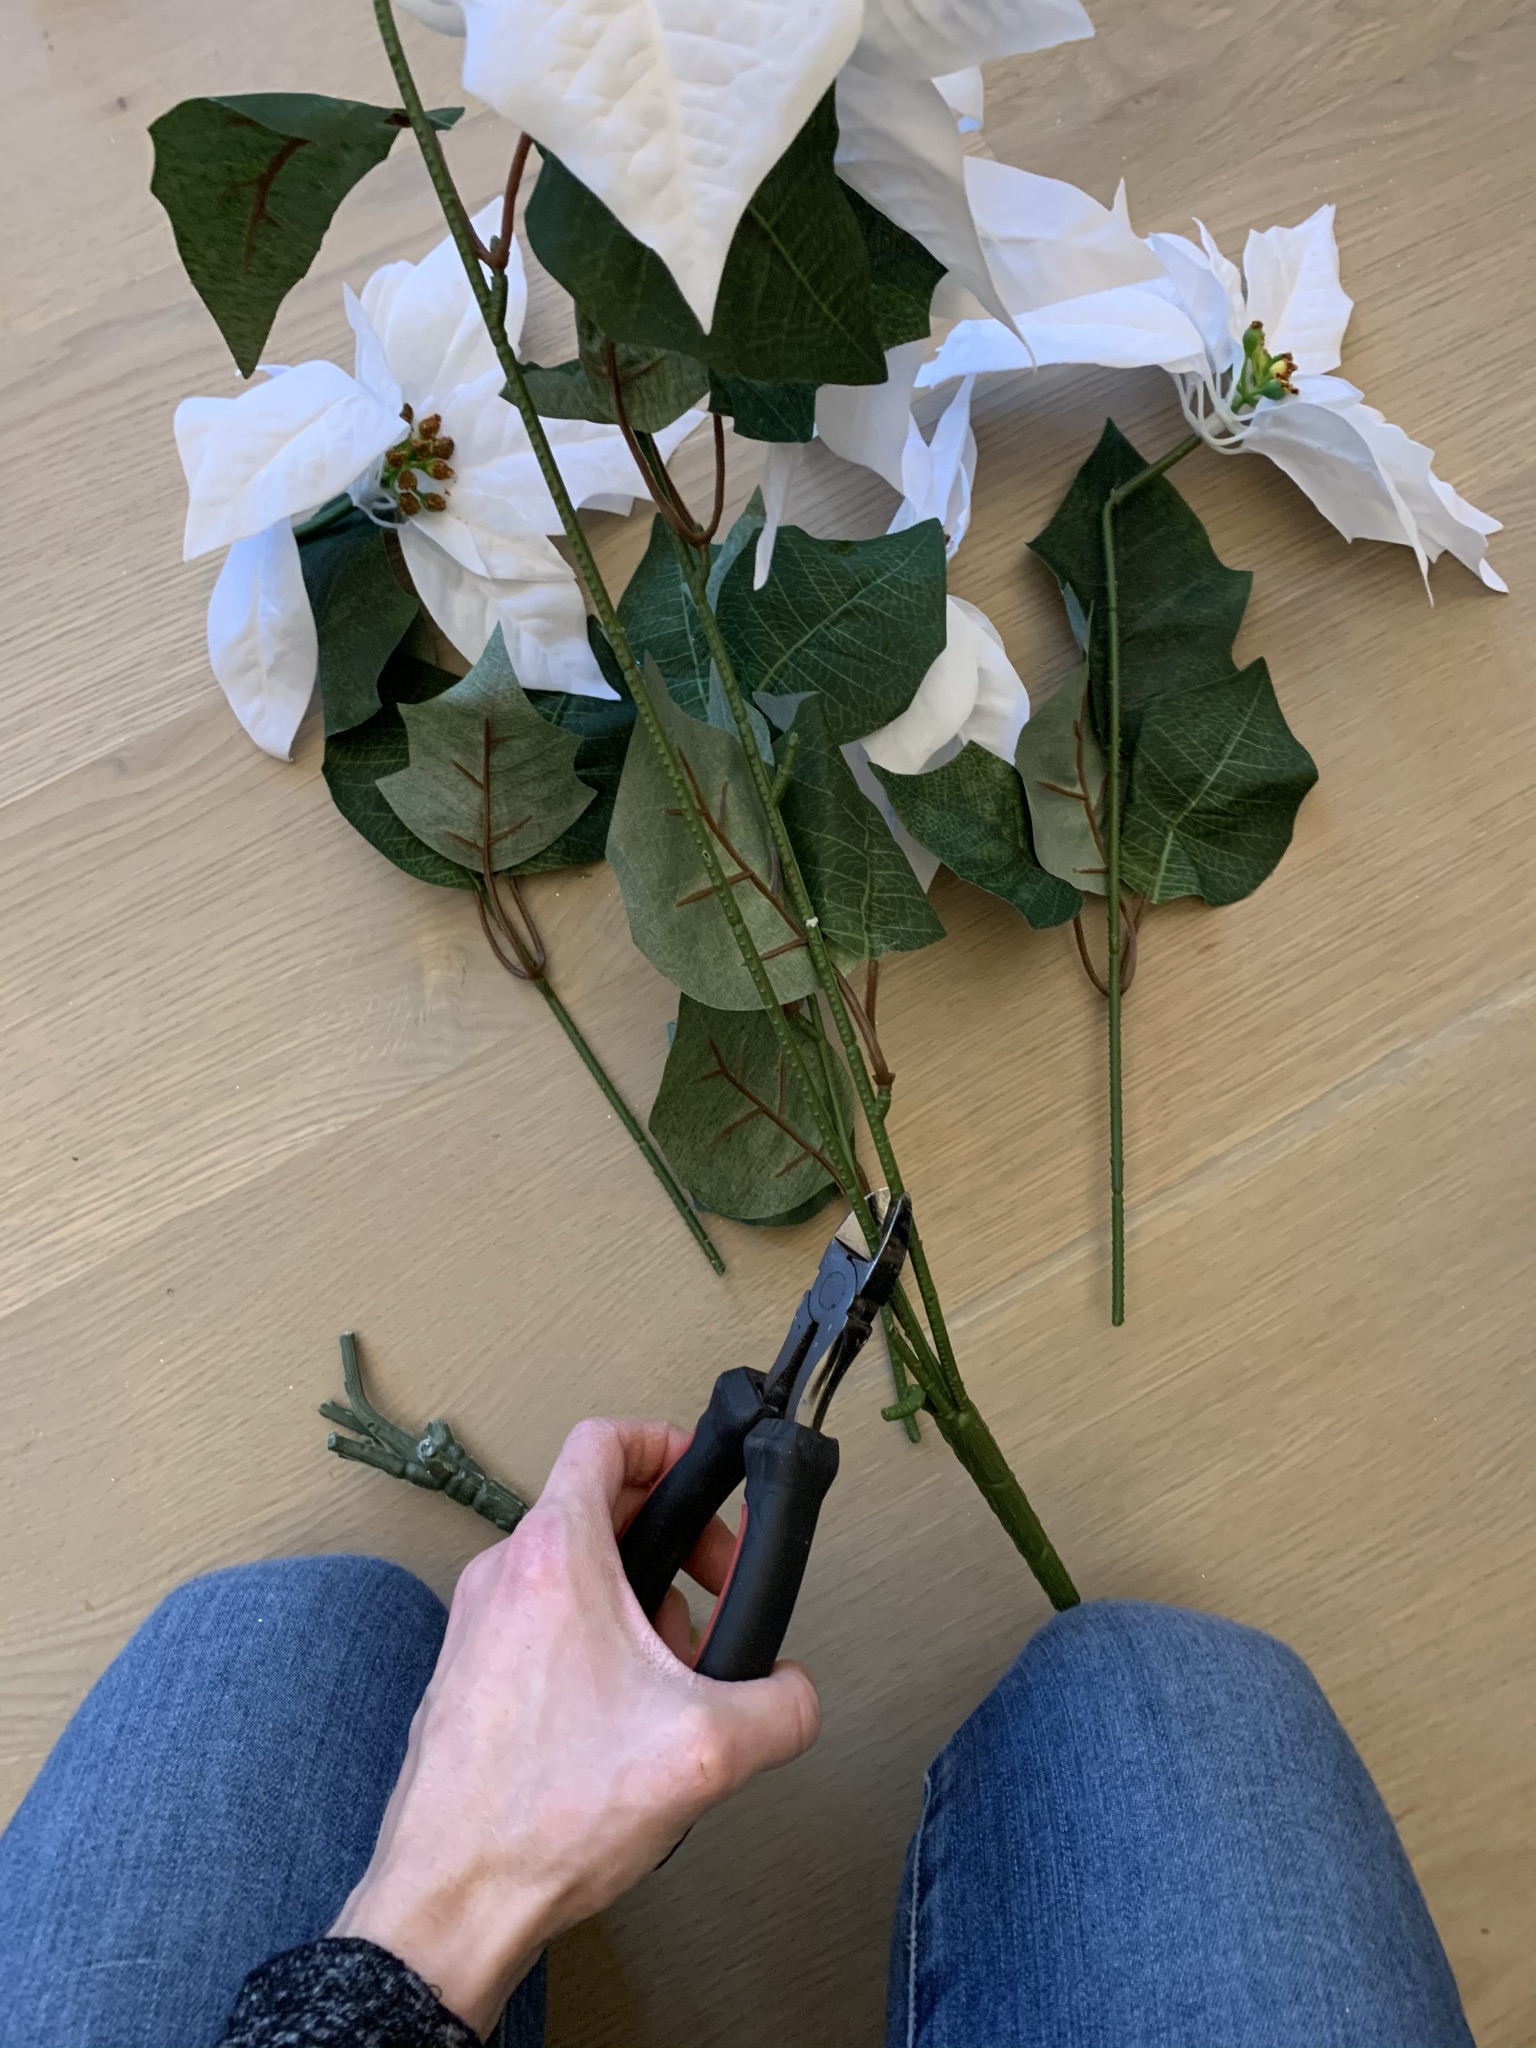
- Gather those installation tools. You’ll need a step stool (or a ladder depending on tree size), good scissors (for fabric and ribbons) and wire cutting pliers (for trimming faux flower stems).
- Lay everything out. Create piles of like items and sizes. Go through your old tree decor and see if any of it blends into your new scheme. Stand back and admire your shopping success. Lets decorate!
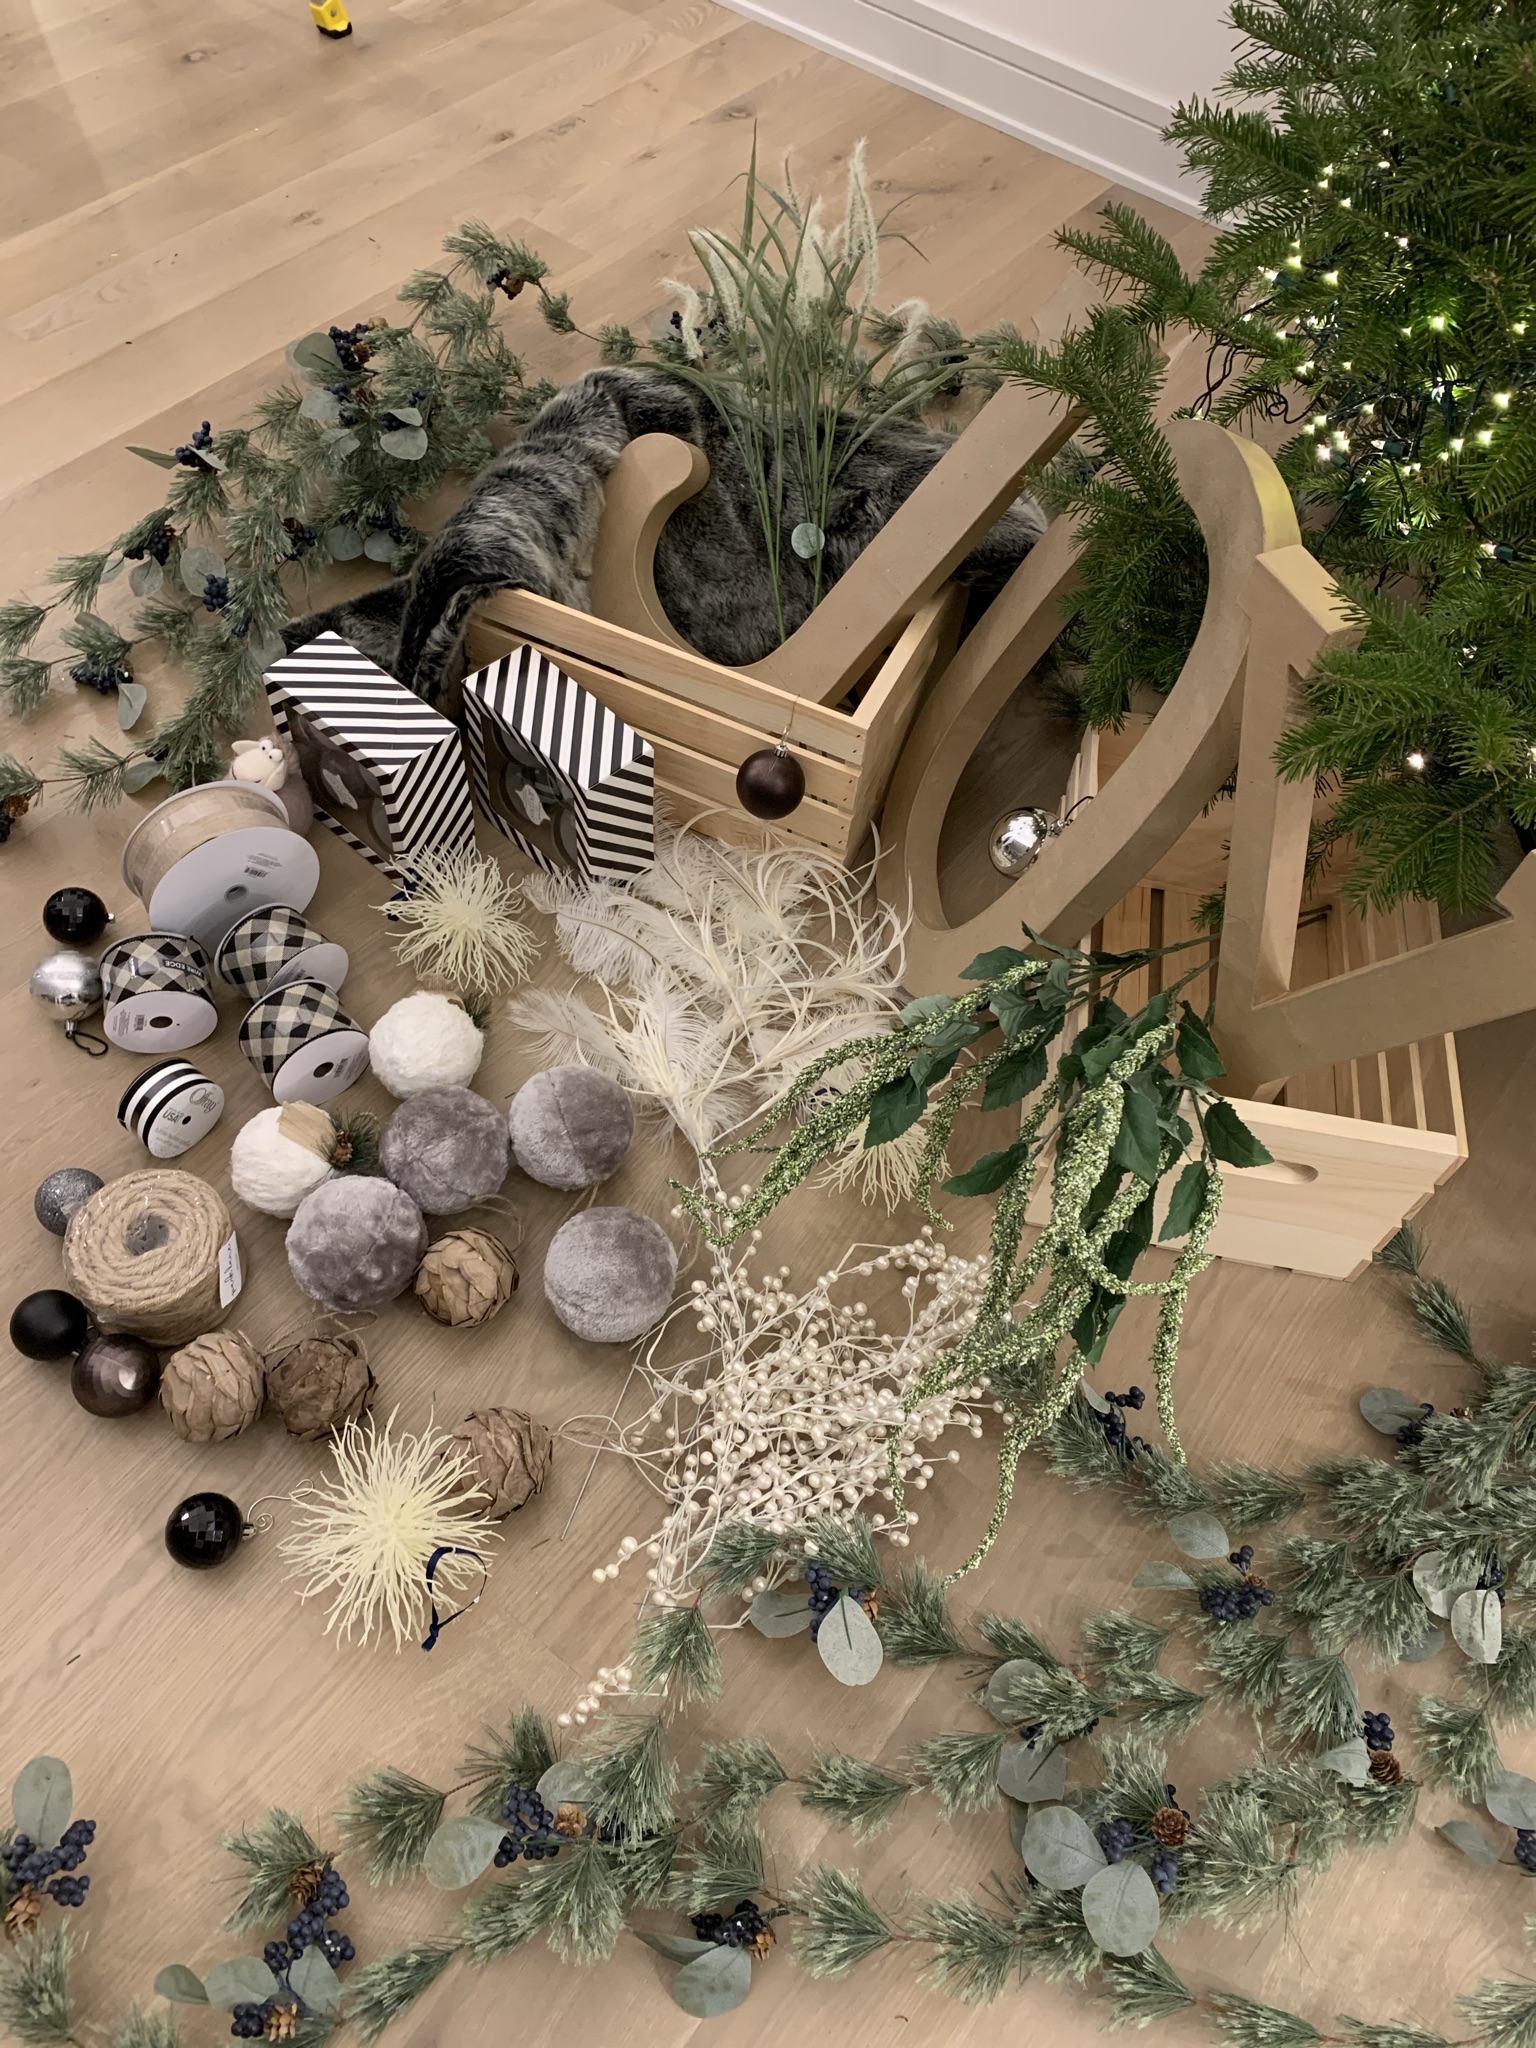

- Largest items first, then weave in your ribbons, and then ornaments last. Space the biggest items apart as needed to create symmetry. Always stand back a distance to review. I started with the giant hydrangea and then the weeping tinsel, and down in size from there. Ribbons can be cascaded downward from the top or spiraled around (from top to bottom ) at an angle. I wove in my burlap ribbon in a spiral very loose to create peaks and valleys for a more casual look.
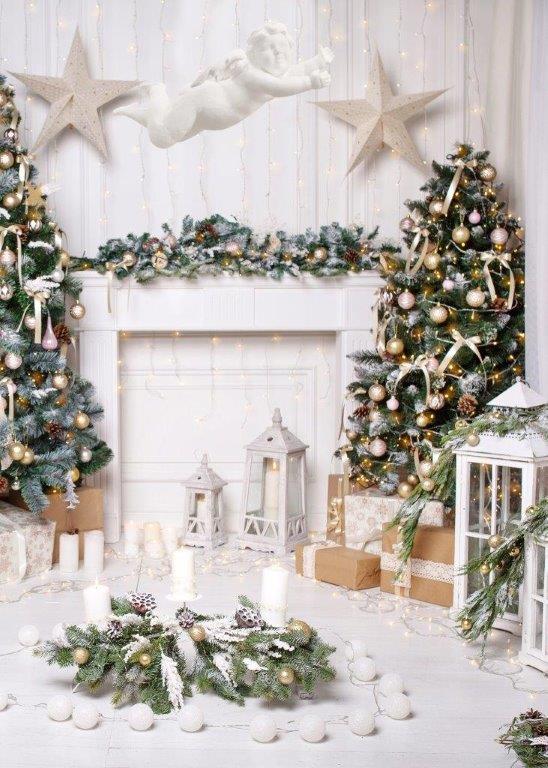
- Finishing touches. I love these wooden crates I found from Joann Fabric. They fit my modern farmhouse theme and I can prop up gifts in the back to give off a fuller look and to allow all gifts to be visible. I also began manufacturing fiber glass Flying Angel Sculptures that I LOVE next to the tree. These fun finishing touches are what makes for a memorable and thoughtfully curated Christmas tree.
- Storage. Yes, just think of the real estate your gorgeous new Christmas tree decor will eat up! I bought two 27 gallon stackable storage totes from Costco for around $6 during a sale. These bins are durable and stand the test of time.
Merry Christmas and happy decorating!